Basics: How to Setup & Use the ATN BinoX 4K Day and Night 4-16x Binoculars
 Article | Posted by Best Binocular Reviews
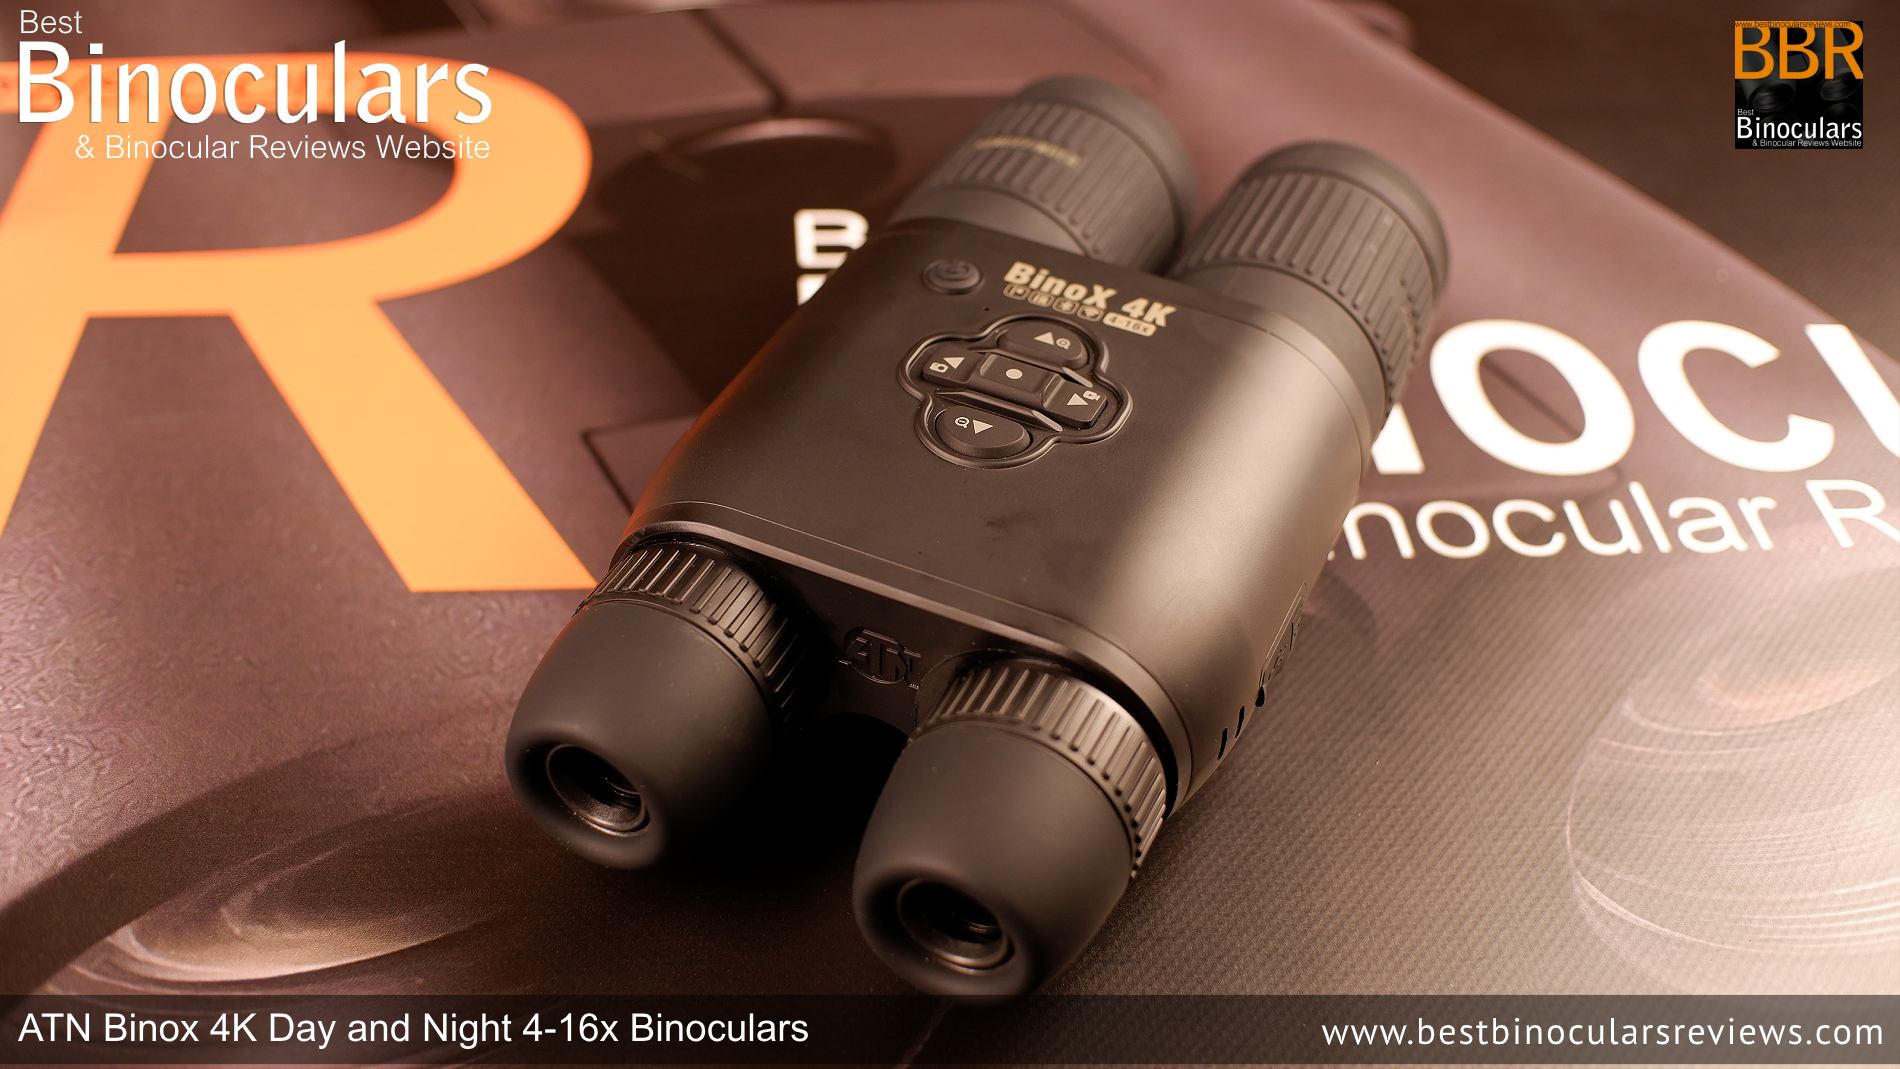
Unlike optical-only binoculars, where their basic function hardly ever changes from one generation to the next, cutting-edge digital devices like these ATN BinoX 4K Day & NV binoculars, packed full of features like integrated laser rangefinders, WiFi connectivity and Gyroscopes are constantly evolving and improving.
Thus, almost every time I test and then review a digital instrument like this ATN Binox, there is something new for me to learn and explore. In many ways this is exciting, but it also means that it takes me longer to get to the point where I feel comfortable explaining and giving my opinions on their features and performance with any sort of authority.
It also means that unlike “normal” optics only binoculars and monoculars where I only have to explain how to use them once and then refer back to that in each review, for a digital device each one is slightly different and thus each review also includes a section on how to set up use the instrument.
I could leave this out as they do come with instructions but feel this is an important and valid part of the review as these differences mean that some are more user-friendly than others when learning how to use them.
So below is my experience on setting up and then the first few uses of the ATN Binox 4K Day and Night 4-16x Binoculars, which I hope will not only get you started, but also be an insight as to how user-friendly and easy the process is:
Step 1 – Preparation & Charging
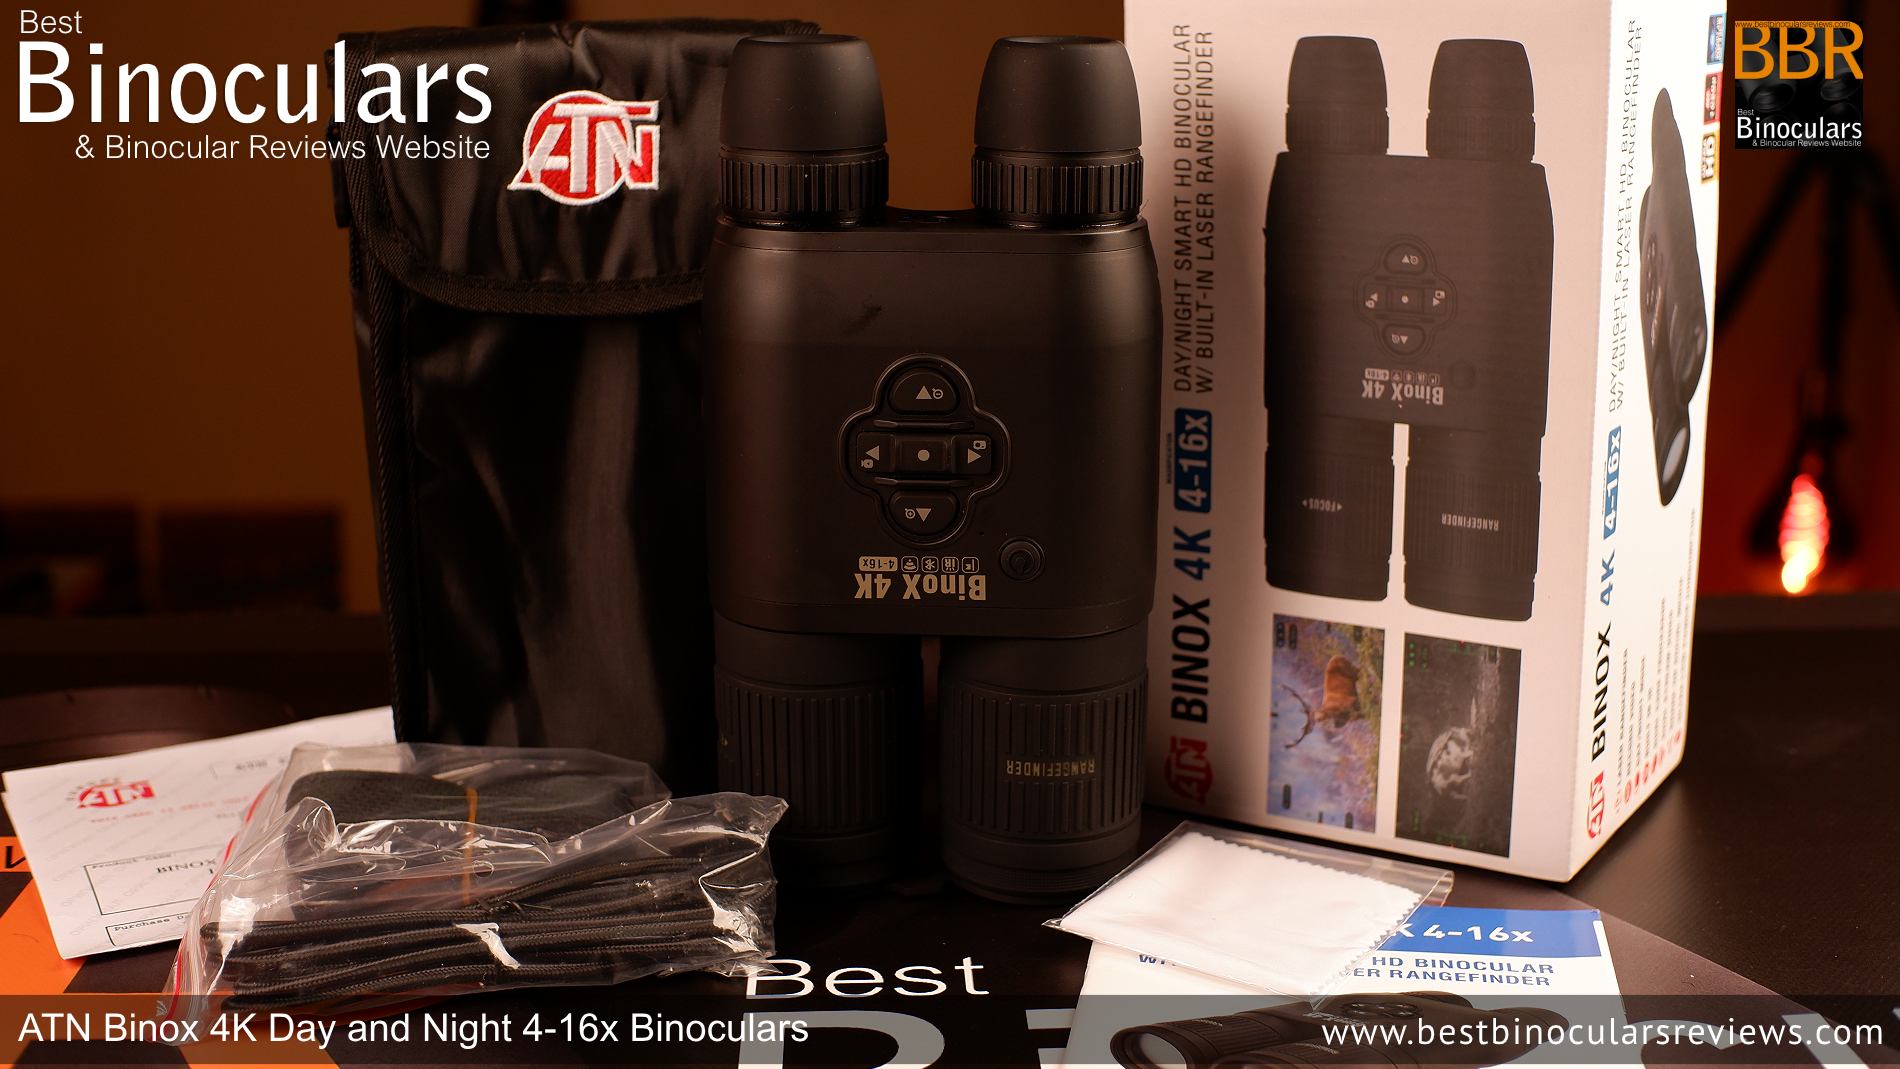
Once you have taken the ATN Binox out of the box and then out of the included soft carry case, the first thing is to fully charge it.
On the right on the right side, there is a rubber cover seal for weather protection that you can just pop up with your fingernails.
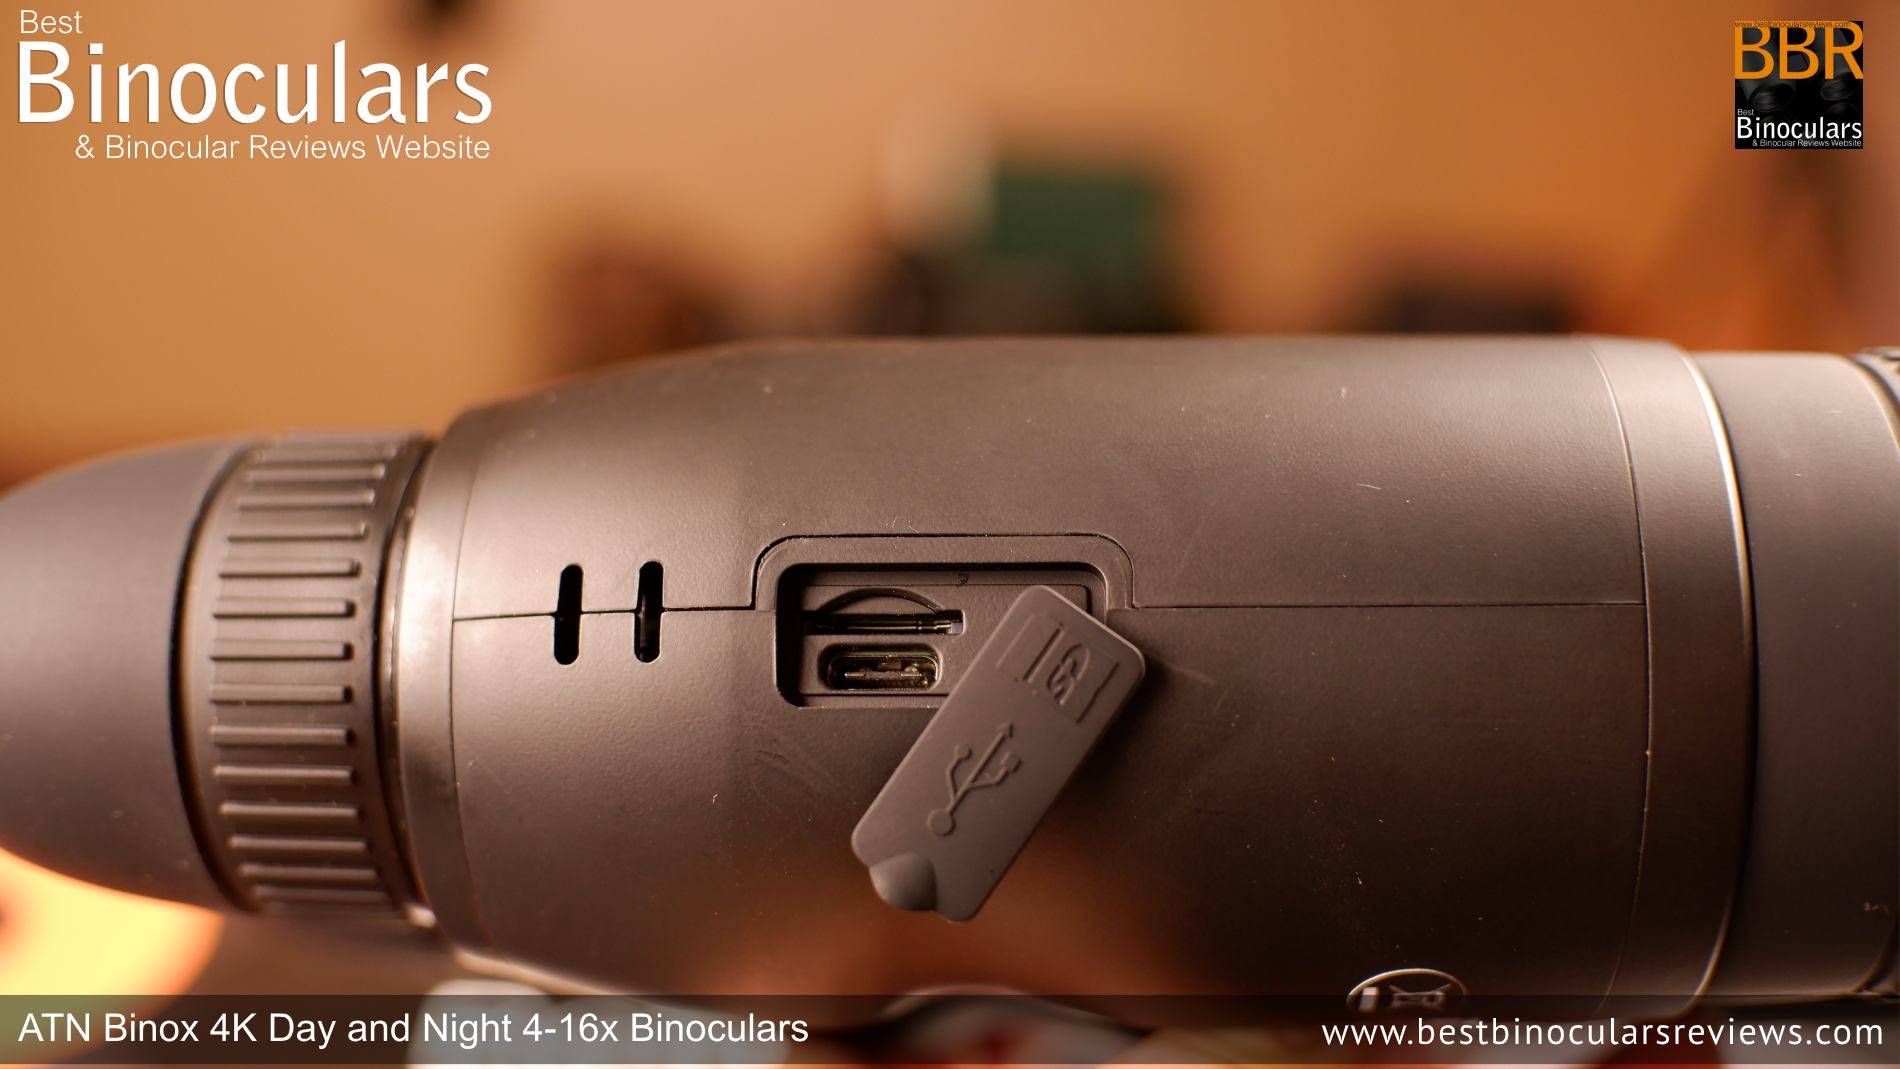
Doing this reveals a USB type-c port for charging as well as a micro SD port for storing photos, and videos taken with the binoculars as well as for updating firmware.
Charging
The device comes with what looks and feels like a very good quality, robust USB type-c cable but there is no USB wall charger included.
ATN recommends using a 2 amp charger which is common enough these days and thus I guess most households should have one lying about somewhere. In the instructions, it says that by using a 2 amp charger, it takes about 6 hours to fully charge, which I found to be about right.
However, because there is no charging light on the device, it is difficult to know exactly when the battery is charging and when it is fully charged without turning it on. This for me is a small oversight and I do think some sort of external indication would be useful. However, I do also understand that with a night vision device having external LED lights (even very small ones) is not always a good idea. Firstly because of stealth issues and then also because they can interfere with IR illuminators etc. But I do feel that they could put a charging light under the rubber cover seal near the USB type-c port which would enable you to hide it if needed.
For interest, the stated battery run time is 15 hours on a single charge, which I found to be a little on the conservative side, but it will depend on exactly how you use the device when switched on.
Memory Card
Note: the ATN Binox does not come with a card included, which is a pity and this may be something to make sure you sort out before getting to this point although you do not necessarily need a memory card to operate the device.
If you do have one, now would be the time to insert it. They recommend a class 10 Micro HC-type card with a memory of somewhere between 4 and 64 gigabytes for these particular binoculars.
Step 2 – Turning On/Off
Once fully charged, it is time to turn on the ATN Binox. To do this you simply press the power button located on the top left of the device (See Image below). The start-up time from pressing the button to displaying an image through the oculars was between 3 – 5 seconds. It takes a few more seconds for the HUD to kick in.
To turn it off you press and hold the same button for around 2 seconds. Within the viewfinders, you will see a notification asking you to confirm, once you select it, it shuts down almost immediately.
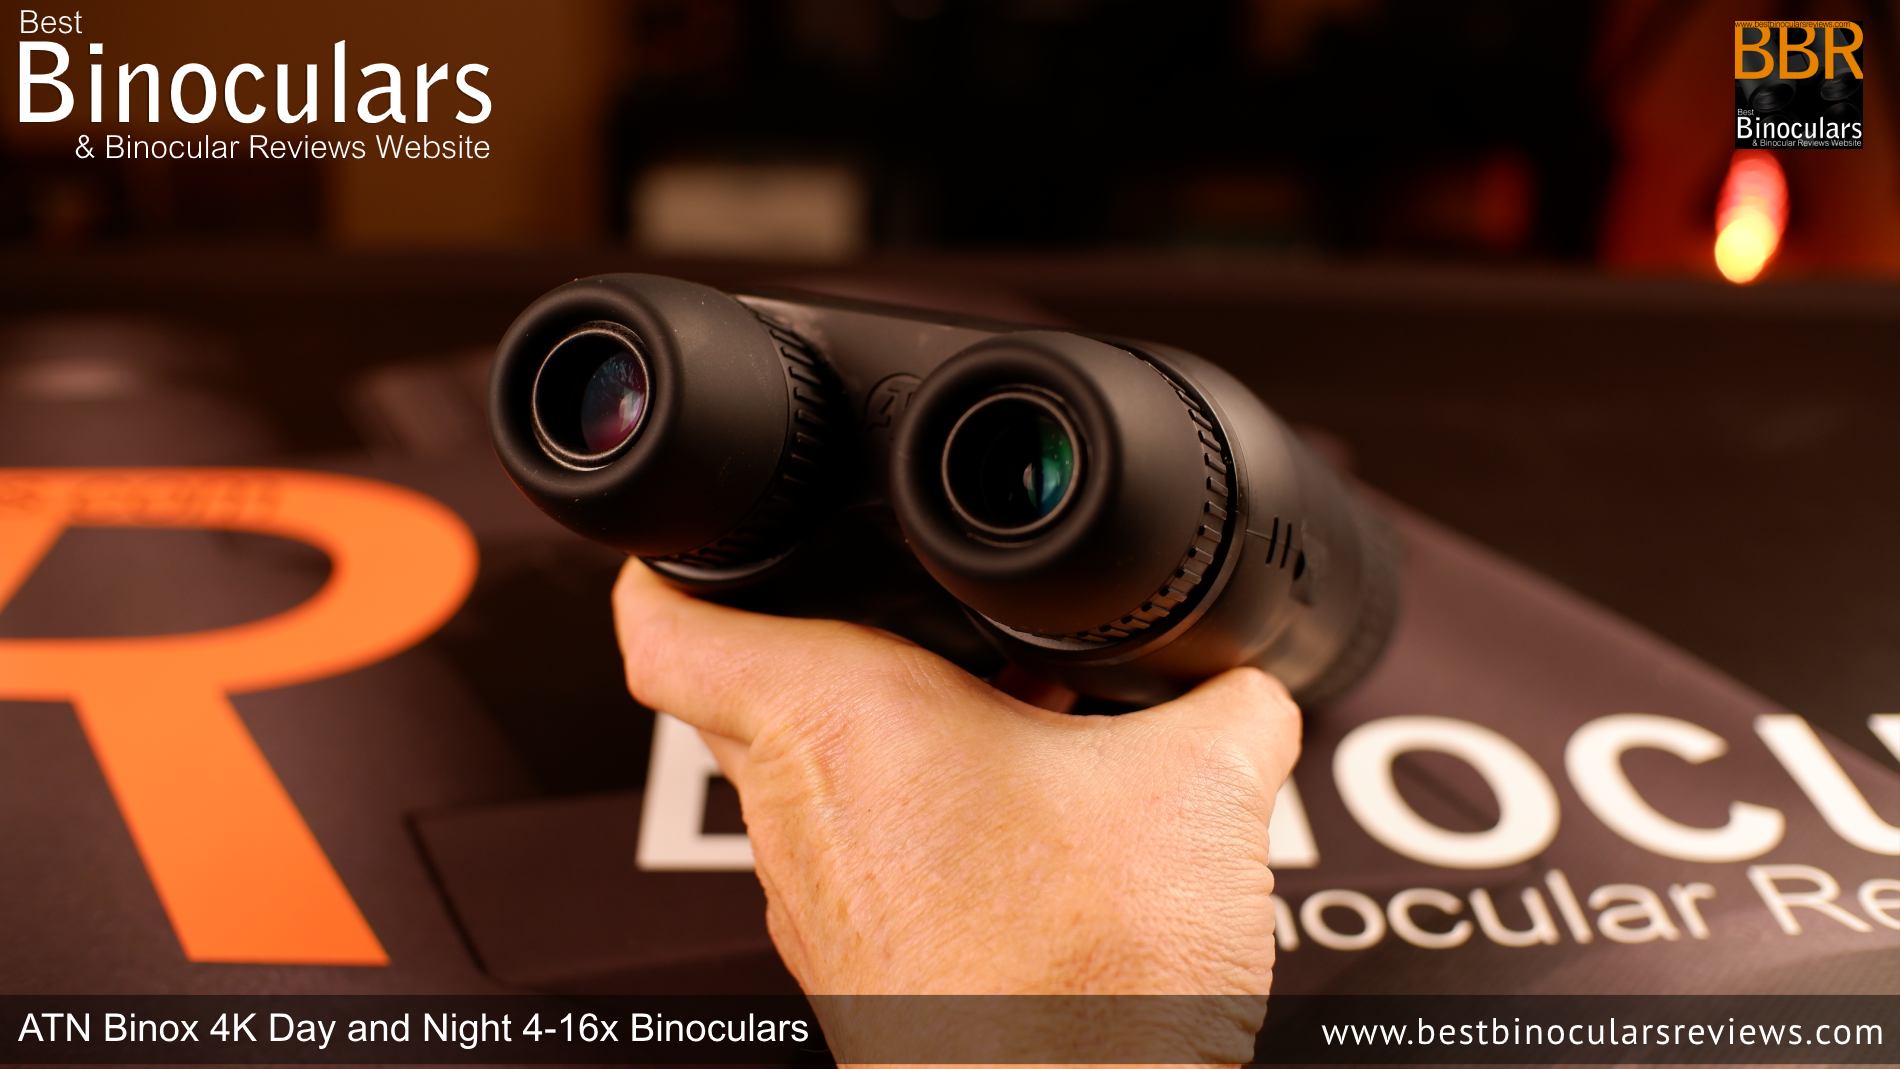
Step 3 – Inter-Pupillary Distance (IPD) Adjustment
As with a standard set of binoculars, you can adjust the distance between the two eyepieces to match the distance between your eyes, known as your Inter-Pupillary Distance (IPD).
However, instead of opening and closing the central hinge as you would on a standard binocular, with the ATN BinoX 4K you simply move the eyepieces closer or nearer apart.
This is a simple, but important step because if the setting is not correct you are likely to see dark areas on the sides of the view, which if you did not know how to correct it, may make you think that there was something wrong with the instrument.
Step 4 – Focusing & Diopter Adjustment
So now the instrument should be switched on and because you have set the IPD correctly, you should be able to get a fairly decent view through the eyepieces.
The image you see may still be a little or even very blurred. This is because you may need to adjust the diopters and/or the focusing distance to match the distance of whatever you are looking at.
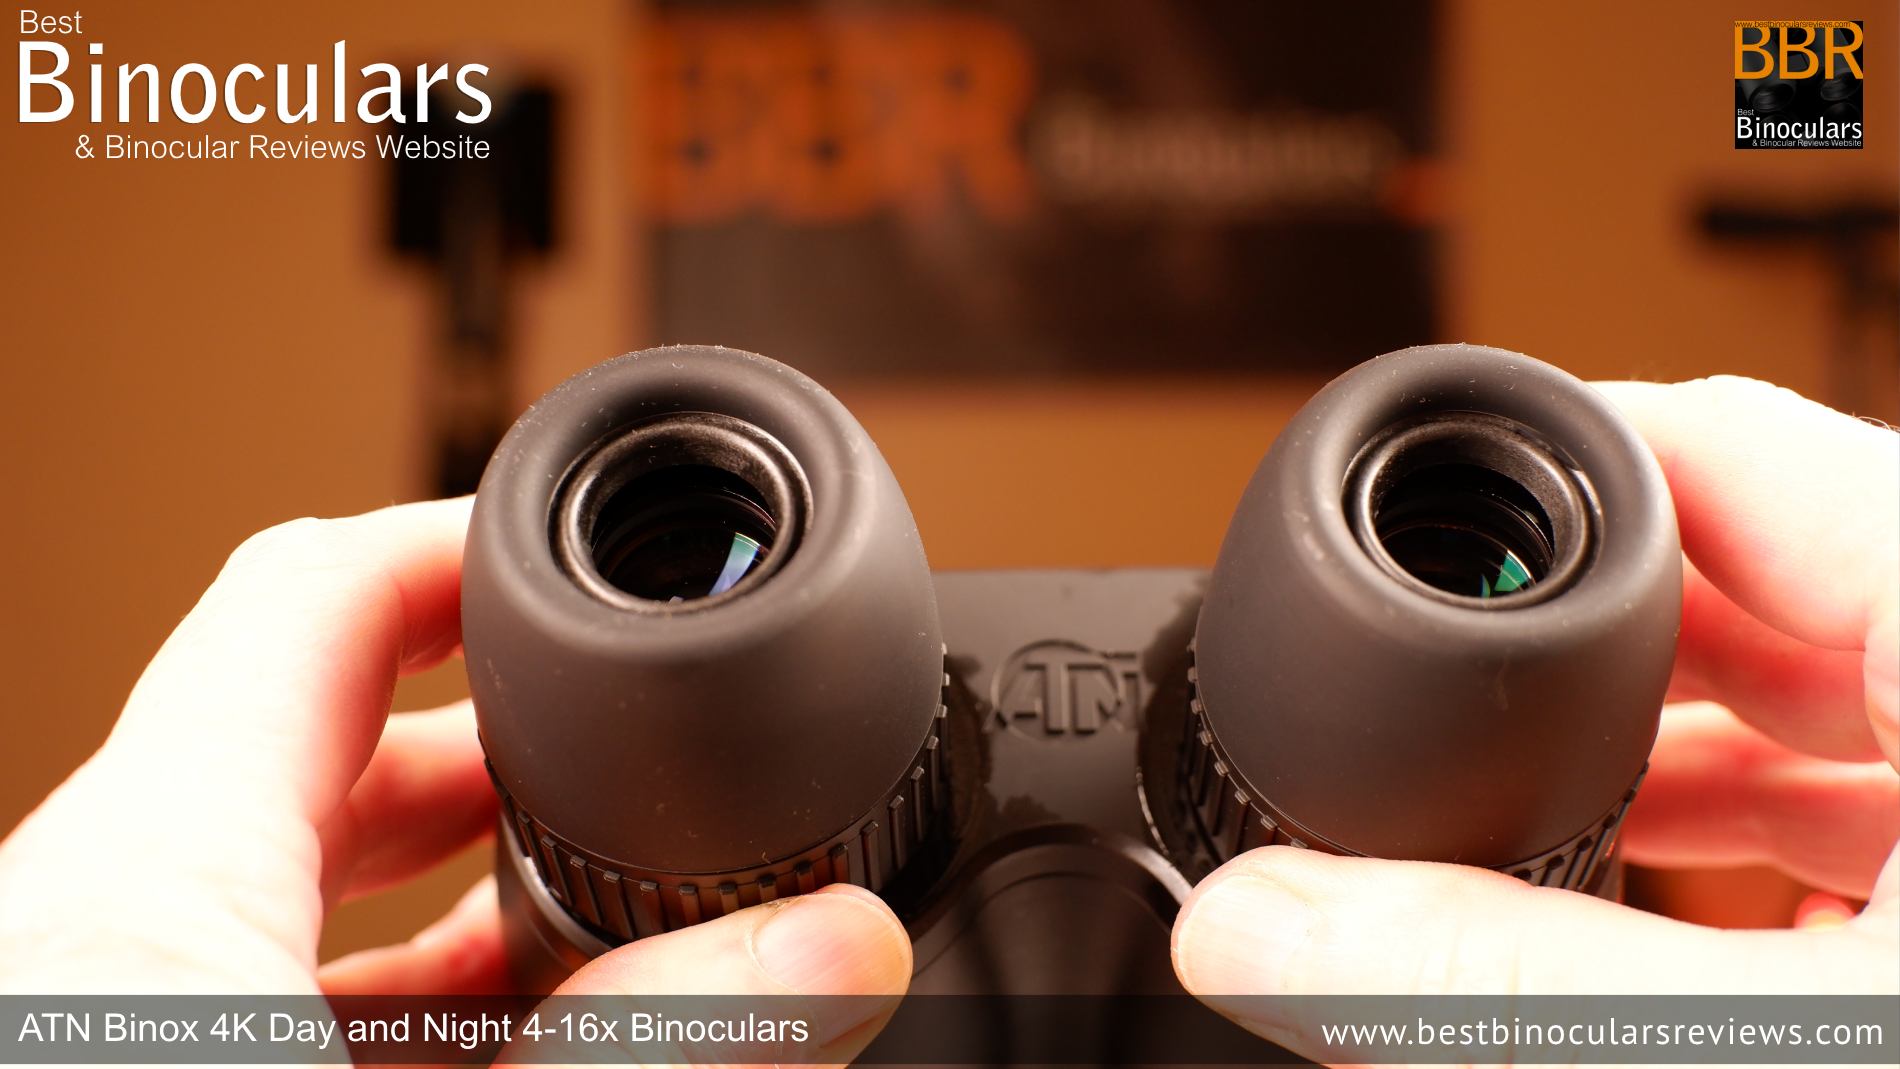
Diopter Adjustment
To begin with, you need to set the two eye-pieces to match that of your particular eyesight. Note this step only needs to be done once (unless someone else uses the binoculars).
The diopter adjustment rings are located on each of the eyepieces and by turning them it focuses that eyepiece onto the screen inside it thus setting it for your particular eyesight.
To do this, look through the eyepieces and close one eye. Now adjust the diopter on the side with the open eye until the widgets on the screen become sharp. Ignore the main image in the background for now you just want to get the HUD (Heads-Up Display) sharp and in focus.
At first, I did this by looking carefully at the red triangle indicators on the compass, roll and pitch indicators, but I found it easiest to do whilst looking at the menu as this removes the image in the background which is a distraction. To get to the menu simply long-press the main centre/OK button on the console, but either way will work.
Once the widgets on the HUD are pin-sharp, do the opposite for your other eye. As I said, this step only needs to be done once unless you share your binoculars with someone who has a different vision from yours.
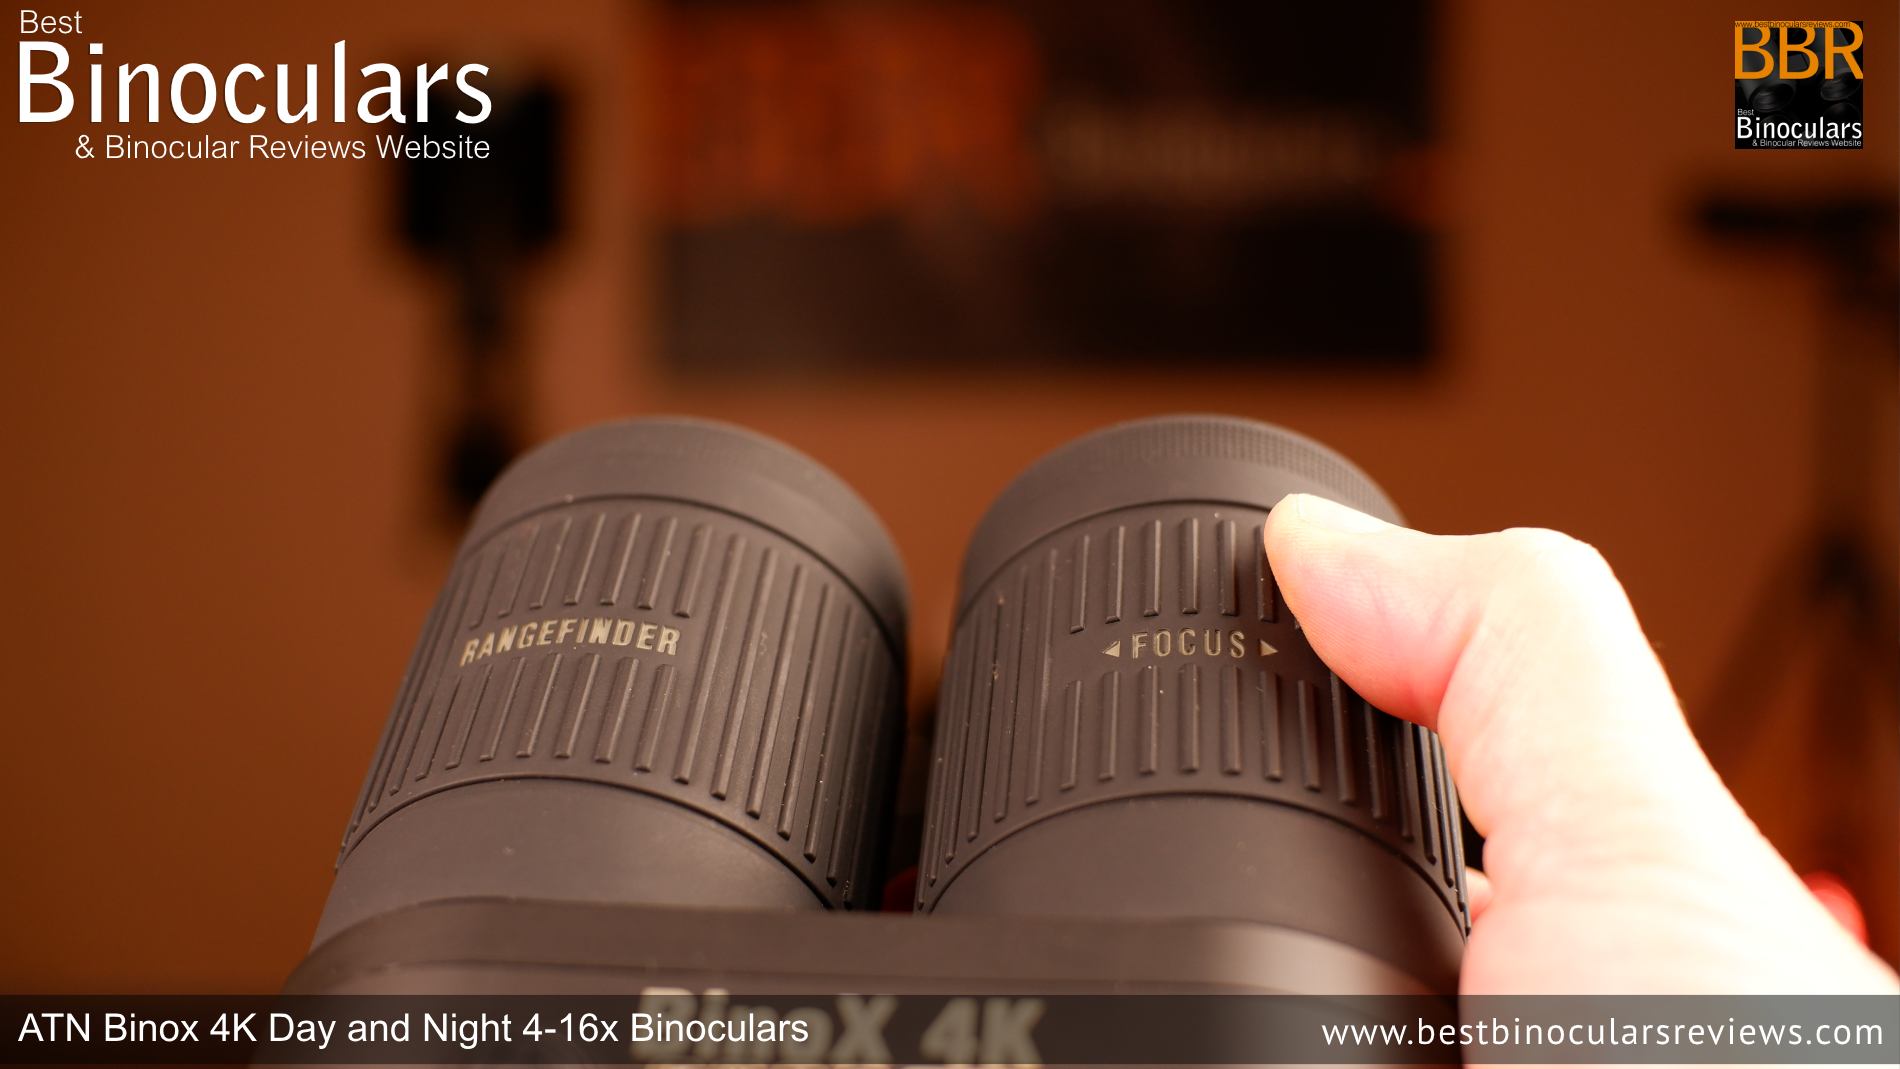
Focussing
Next, it is time to focus the device on something. To get the hang of it, it is easier to start by pointing the view towards something with a texture on it (a tree trunk is a good example) at a distance of around 10 meters away and then rotate the focus adjustment ring, which is the end section of the right barrel. As you do so, you will notice the image come into focus. Once it is sharp you can stop and enjoy the view!
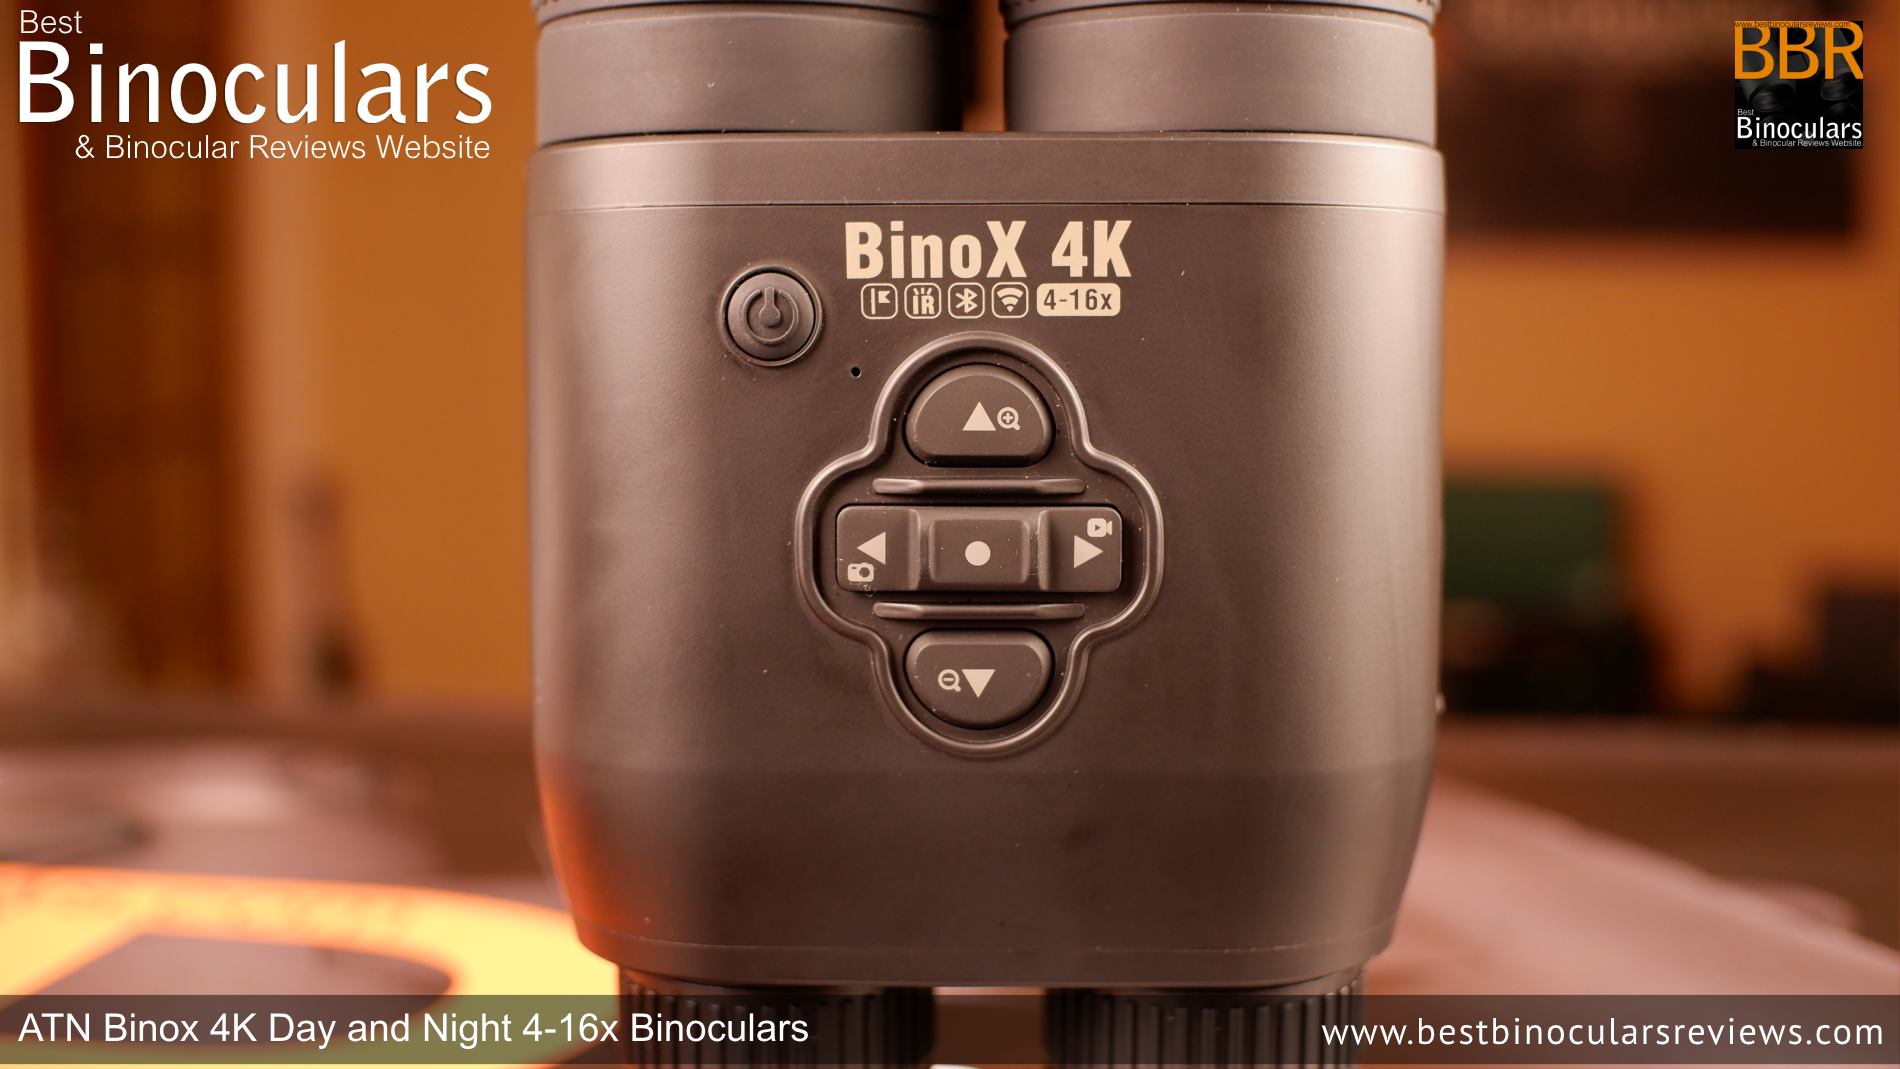
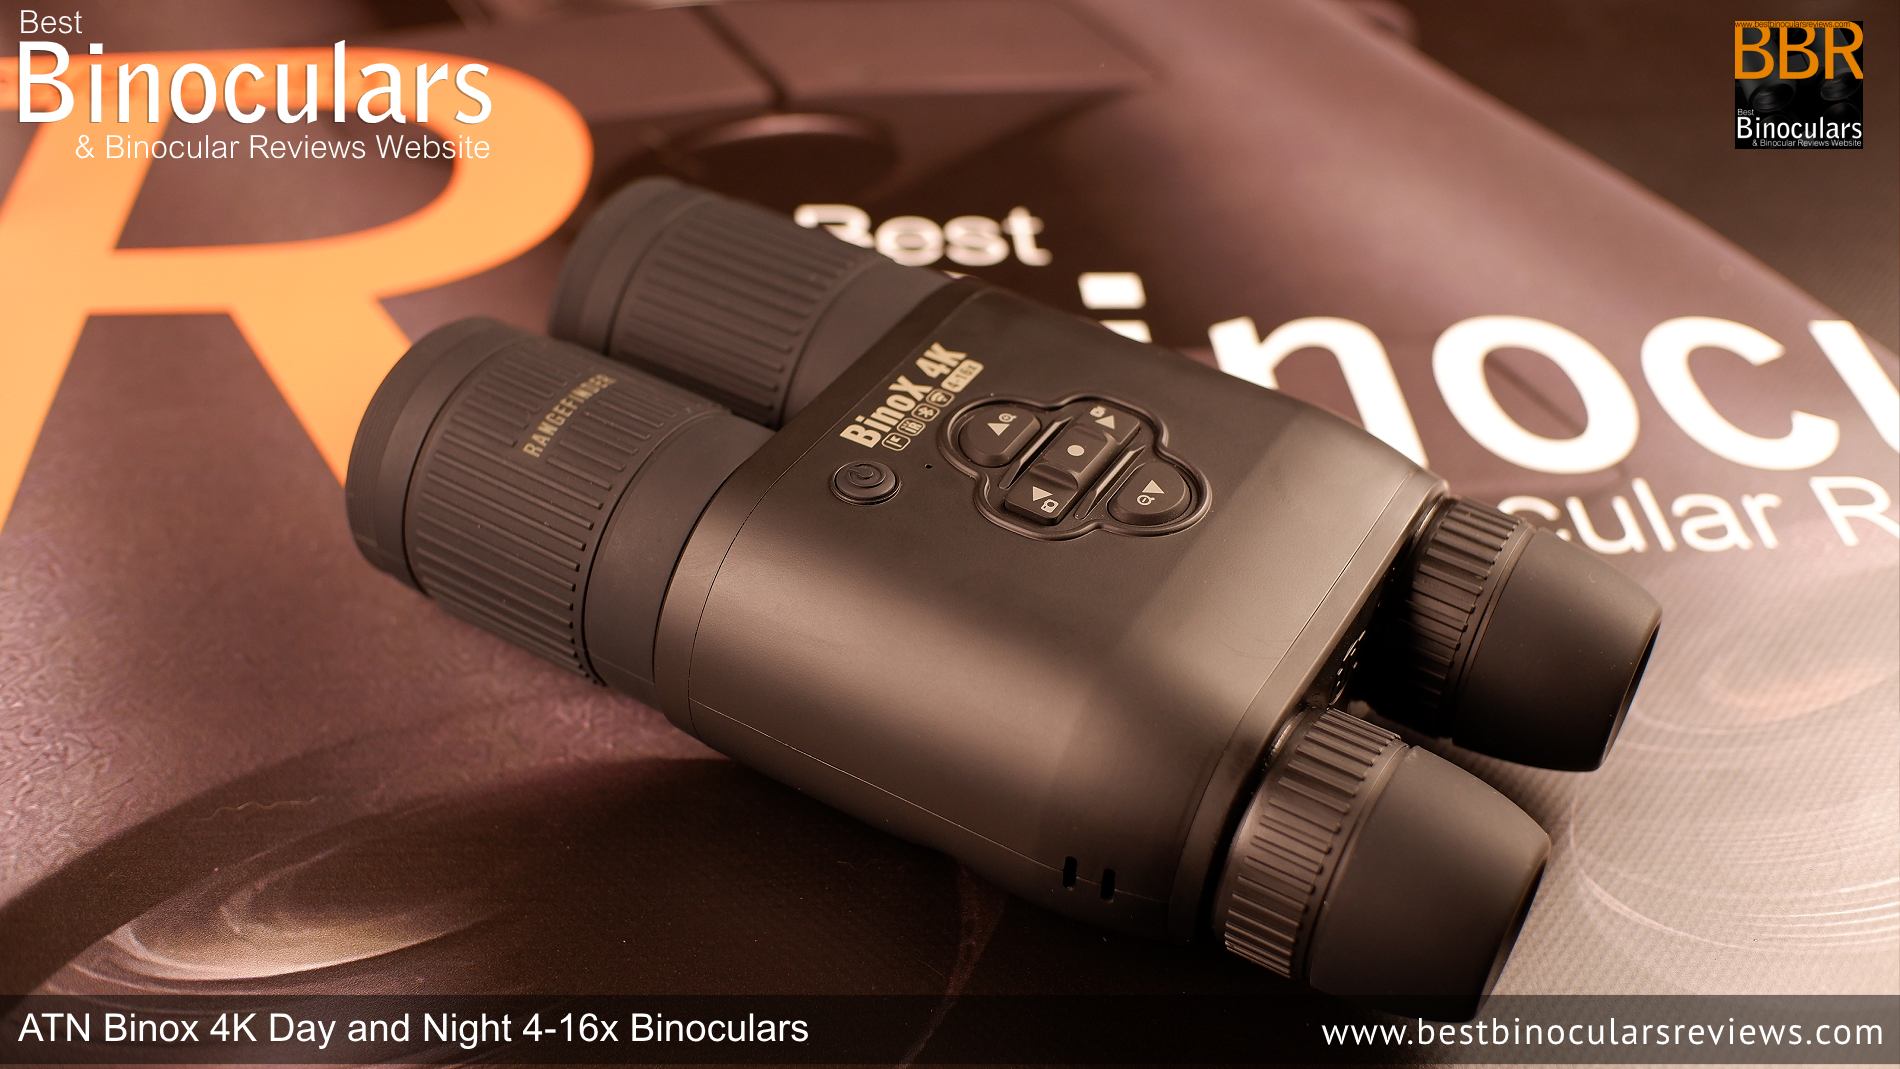
Main Console Controls
The buttons on the central console are placed well and thus easy to reach, I also feel they and laid out very intuitively so you soon get used to operating it without having to take your eyes away from the view.
As you can see from the image above, it is pretty obvious what each button does:
- Top Left: Power Button – Press to Turn on, Long Press to Turn off and then quick press when on to measure the distance to an object using the Laser Rangefinder
- Up Arrow: Increase the Zoom / Magnification of the image. From 4x to 16x. Note that this can be increased digitally to 41.7x in the settings menu.
- Down Arrow: Decrease the Zoom / Magnification of the image
- Left Arrow: Take a Photo / Still Image
- Right Arrow: Start and Stop Video Recording
Whilst in the main menu (which you get to by long-pressing the central OK button), you simply use the arrow buttons to navigate and the centre OK button to confirm any selections. All very easy and as I say, it is all very intuitive and this includes the menu selections, so I will not go over them here, other than to say:
Switching Between Day & Night Vision
You do this using the shortcut carousel in the main menu: long press the centre OK button, Right press and then OK to select. After a few times, this becomes second nature.
Also just to confirm that, unlike traditional Night Vision devices, you will not damage the ATN Binox by using the night function during the day.
The only slight reservation I have in regards to the console controls is that I wish the buttons were a little more obvious: I found using the device with bare hands fine and it was simple enough to locate the buttons. But I also tested these in winter and going out before sunrise, wearing gloves was essential and then even with fairly thin gloves, the ATN Binox became more difficult to operate.
Taking Photos and Video
Once you have a MicroSD Card installed and the BinoX is switched on, shooting video or taking photos is as simple as pressing the right button on the console.
I will go into detail as to my experience with this in my full review, and I am also in the process of creating an example gallery:
Conclusion
Overall, I found these ATN BinoX 4K Day and Night 4-16x binoculars extremely easy and intuitive to set up and I would say user-friendliness is certainly a strong point. Indeed these instructions will probably not be necessary for many users.

Cost & Where to Buy
Further Reading
- Full User Review of the ATN BinoX 4K Day and Night 4-16x Binoculars coming soon!
- ATN BinoX 4K Binoculars – Gallery – Example Photos and video footage taken with the ATN BinoX
More Related: - Main Night Vision Section on BBR
- Image Stabilization Binocular Reviews on BBR
- Rangefinder Binoculars
- Digital Camera Binoculars

 Categories: Camera Binoculars, Night Vision |
  Tags: ATN, Camera Binoculars, Digital Binoculars, Digital Night Vision, Image Stabilization Binoculars, Night Vision |
  Comments Off on Basics: How to Setup & Use the ATN BinoX 4K Day and Night 4-16x Binoculars